Surface Treatment Lead Times for Bespoke Metal Parts

Lead times for surface-treated parts are one of the biggest surprises for engineers in production. Once you understand the reasons for the delays you can plan around them.

Process Type and Bath Availability

All processes are not run on a daily basis. Hard chrome, electroless nickel, anodising and zinc nickel plating are processes that require a dedicated bath. Smaller applicators may run a process only 2-3 times per week. Ask how often your required process is run.

Pre-Treatment Adds Days

The majority of surface treatments require a substrate to have been previously cleaned and prepared, by means of chemical cleaning, grit blasting or other mechanical means prior to coating. The process of pre-treatment can often be a separate operation, carried out on a separate production line and therefore would add days to lead times. Some parts may also require grinding or other forms of rectification prior to coating.
Drawing Clarity at Point of Order Surface Treatments is covered in more detail at https://www.poeton.co.uk/surface-treatments/.

More problems arise due to drawings being sent to surface treatment facilities that do not contain sufficient information for the coatings to be specified correctly. The information required includes coating thickness, whether masking is required and what relevant standards (e.g. AMS, DEF STAN) the coating should comply with. Send a fully dimensioned drawing together with a written specification for processing.

Batch Size and Racking Constraints

Small or large batch sizes can also cause problems. Parts need to be put on racks or fixtures to carry the current or to be put into the bath. The time spent putting parts on racks or fixturing increases in direct proportion to the quantity and complexity of the parts. Also, very odd shaped parts can need their own special fixturing which can add a day or more to lead time.

Ask the Right Questions Up Front

If you are engineering a part for surface treatment, then it is worth asking the following questions of the applicator: how often does he run the process required for your part; what pre-treatment is required for your parts; what is the maximum queue time this week. For engineered components, Poeton’s surface treatments page covers the processes mentioned above.

By asking these three simple questions you will have most of the information you need to plan your production schedule accurately. This is particularly true when working within the tighter supply chain found within UK manufacturing.


How to Prepare Artwork for Folded Leaflets

To avoid problems with your printed leaflets, it’s always worth checking the artwork before sending it to the printer for printing. Even small mistakes can cause expensive reprints.

Add Bleed to Every Edge

Bleed refers to an extension of the colour or pattern that goes to the trim of the leaflet. A standard amount for bleed is 3mm extended to all edges. This ensures that once the leaflet is cut there are no thin white lines left where the cut has been made. If the leaflet is cut slightly off centre then these lines can be quite noticeable.

Set Up Your Panel Sizes Accurately

A tri-fold A4 leaflet is not cut into three equal sized sections, the centre section is 1 to 2 mm narrower than the outer sections to enable the leaflet to fold correctly inside. It is wise to ask your printer for a template for folding tri-fold A4 leaflets as dimensions can vary depending upon the fold used and the weight of paper being used.

For more on Folded Leaflet Printers Swindon, take a look at wheatleyprinters.co.uk/printing-services/marketing-materials/folded-leaflet-printers/swindon/

It’s also very important to make sure that all important text and graphics are positioned at least 5mm inside the trim to avoid them being cut off. It’s also vital to check that all panels have sufficient clearance and that graphics are not stretched across folds. The edges of a folded leaflet have many more edges than a flat sheet of paper, so be extra cautious with your design. Folded Leaflet Printers Swindon is worth getting right.

Use the Correct Colour Mode

Your artwork should be supplied in the CMYK colour mode as opposed to RGB. This is because colours appear different on screen than they do when printed. What may look great on screen in RGB could look very poor when printed from CMYK.

Supply High-Resolution Images and the Right File Format

For best results all images should be supplied at a high resolution of at least 300dpi at the size at which they are to be printed.

By following the above steps you can ensure your folded leaflets are printed to the highest quality and exactly as you expected.

How a Commercial Kitchen Installation Is Planned

Setting up a professional kitchen involves more than simply choosing equipment. It is helpful to know what happens at each stage of the Commercial Kitchen Installation process in order to prepare for the project and avoid costly delays.

Site Survey and Utility Mapping

The first step in the process of a Commercial Kitchen Installation is a site survey. During this visit the designer will take measurements of key items such as ceiling height, doorways and drainage points. He will also look at the position of existing gas, electric and water supplies. It is always a good idea to have utility drawings of the building and those of the landlord as well. This will give the designer a better understanding of the maximum electrical load the building can take and allow him to start specifying the equipment for the Commercial Kitchen Installation.

Regulatory and Ventilation Compliance

Part of the planning will also involve checking your proposed ventilation system against Building Regulations Part F. In addition, your designer will establish the required extraction rates for the proposed appliance mix and discuss your obligations under food business registration and premises approval with the local authority. This will highlight the environmental health officers’ expectations of your proposed kitchen and help to prevent costly redesigns further down the line.

Equipment Selection and Layout Sign-Off

This stage is crucial as it sets out the workflow through your kitchen and details the designated zones for preparation, cooking, plating up and washing. It is easy to design a kitchen around the equipment you like but this can often lead to problems during the Commercial Kitchen Installation. To avoid potential problems ensure that you agree to a detailed drawing of the proposed layout before you purchase any equipment.

Phased Installation Sequencing

First the services need to be put in – the gas runs, the electrical circuits for the appliances, the drainage and the ventilation ducting. Then the bigger appliances can be moved into the kitchen and positioned as required.

Final Commissioning and Hygiene Inspection

All appliances are put through a full test at operating temperature and surfaces are deep cleaned and sanitized ready for the environmental health officer’s inspection. For Commercial Kitchen Installation, visit https://www.targetcatering.co.uk/commercial-kitchen-designers.

Knowing what each stage of a commercial kitchen installation involves will enable you to effectively brief your team, your landlord and your building contractor.

The “Cleanliness Clause”: Why a Dirty Car is a Legal MOT Fail

You’ve gone through your whole vehicle making sure everything is in order just so you can pass your next MOT, but all your hopes seem to get shattered when you approach the MOT tester who takes a single look at your car and refuses to give you a certificate. What could be the reason behind it? A simple mess on your car.

Most people think The Cleanliness Clause is a myth, but it actually does exist in the DVSA handbook, which means if your vehicle is deemed to be “excessively dirty”, the MOT tester has a legal right to refuse to carry out the test. For MOT Gloucester, contact 123carandcommercial.com/mot-gloucester

When we say cleanliness, we don’t mean a few crumbs on your dashboard or dust accumulated over time, but when all the rubbish piled up from you eating in the car blocks important safety features, such as your seatbelt buckles or foot pedals, that’s when you know you’re going wrong. Whether it be rotting food, pet mess or even sharp debris. When it comes to getting your car MOT, the last thing you want to do is expose testers to anything that would make their job a potential health and safety hazard.

When it comes to cleanliness, the exterior matters too. Anything from mud or winter road grime blocking key components, such as your registration plates or brake lights, is enough for them to take one glance and deem your car unroadworthy. Also, any obscured components, which include ones you can’t see, such as suspension mounts and joints, that would pose a safety hazard to the public, can also result in instant failure. In short, they want you to clean off all that mud or gunk covering the needed components before presenting your car for inspection.

How to Choose the Right Fire Alarm System

Choosing the correct fire alarm system can not be based solely on price and selecting the correct fire alarm system for your building is crucial to providing the best level of protection. The most important factor that will affect your choice of fire alarm system is the building itself and how it is used on a daily basis.

Start With a Fire Risk Assessment

A fire risk assessment is key to choosing the right fire alarm system. Most premises must carry out a workplace fire safety assessment under the UK law, and the results from this assessment should influence the choice of fire alarm system category and of fire detector types. Don’t be tempted to work from a product brochure!

Understand the BS 5839 Categories

BS 5839 categorizes fire alarm systems to help choose the most suitable. There are two main types, Life systems and Property systems. Life systems are further split into three sub-categories, L1, L2 and L3. These categories determine the amount of protection required for each area of the building and which fire detectors are required. Your fire alarm installer or fire risk assessor will be able to confirm the most suitable category for your premises.

Match Detector Types to Each Space

The appropriate choice of fire detector can make a massive difference to a fire alarm system. Smoke detectors are generally ideal for offices, corridors, and other locations where there is a moderate amount of smoke produced by a fire. Heat detectors are often preferred for use in kitchens and other locations where there is a large amount of dust in the air. They are less prone to produce false alarms for smoke, which can be extremely annoying and lead to them being ignored. Beam detectors are ideal for very large open plan locations with very high ceilings.

Think About Building Size and Occupancy

Detectors are grouped into zones for small single floor offices, however larger or more complex buildings are typically better protected by an addressable system where every detector, sounder and other device on the system is addressed and connected to the control panel and thus can be individually identified by the engineer when a fault or alarm is detected.

Choose an Experienced Local Installer

A well-chosen system is easier to maintain than one that has been chosen haphazardly.

If you are looking for Fire Alarms Northamptonshire, see //isefireproducts.co.uk/fire-alarm-systems/northamptonshire.

A well chosen system is easy to maintain and less likely to fail when you need it most.

What a CNC Punching Machine Does

Sheet metal fabrication involves a lot of repetitive cutting and forming tasks. One of the most efficient ways to complete these tasks is by using a punching machine.

How the Punching Action Works

A hardened steel punch is driven by a ram through the sheet metal. The punch is matched with a die below it, which determines the shape of the hole or feature produced. The die and punch are often referred to as ‘tooling’ and are easily changed to enable the machine to cut or form a variety of different features.

Materials and Thicknesses It Handles

Punching machines are able to work with a variety of different materials including mild steel, stainless steel and aluminium. Typically these machines are able to work with sheets of material up to 6mm thick, although this can vary greatly from machine to machine. Generally speaking the thinner the material the quicker and cleaner the punching process will be, allowing for high volume of production to take place.

The Range of Features It Can Produce There is more on CNC Punching Machines at https://www.cotswold-machinery-sales.co.uk/euromac-bending-machines/punching-machines

A CNC Punching Machine is capable of producing much more than a simple round hole. It is capable of producing slots, louvres, embossed features, notches and more. The machine can produce a single sheet of metal and have it come off the machine ready for assembly with very little more work required.

How CNC Control Helps

The CNC control is designed to automatically reposition the sheet for each punch. So long as the part has been correctly set up and programmed into the CNC control, the machine will work through the sequence of punches in the correct location. This ensures that there is little chance of error in production runs, even very large ones.

Where Punching Has a Practical Edge

Punching is a fast method of production, cost effective for production of the same items, leaves a good quality edge with a burr for many shapes and forms without the need for secondary finishing. Laser cutting is ideal for cutting complex shapes and profiles that require curved cut lines. Punching is ideal for high volume production of flat items and for production of repeat items, the tooling cost per part is greatly reduced after the initial set up for production and is used in many of the sectors covered by UK manufacturing industry standards for structured production.

However a CNC Punching Machine can become a very valuable piece of equipment on your workshop floor very quickly.

Days Out for Car Lovers in the UK this Summer

There are lots of places to go if you are a car enthusiast or have a family member who is – and you are looking for a day out this summer!  Whatever sort of motoring you are into, there is really something to suit all ages and interests – here are the picks of the places if you are looking for something motoring related… Continue reading Days Out for Car Lovers in the UK this Summer

How Hard Chrome Plating Extends Hydraulic Component Life

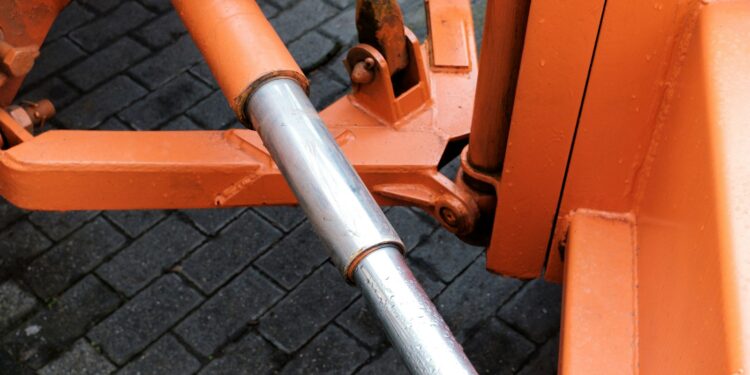
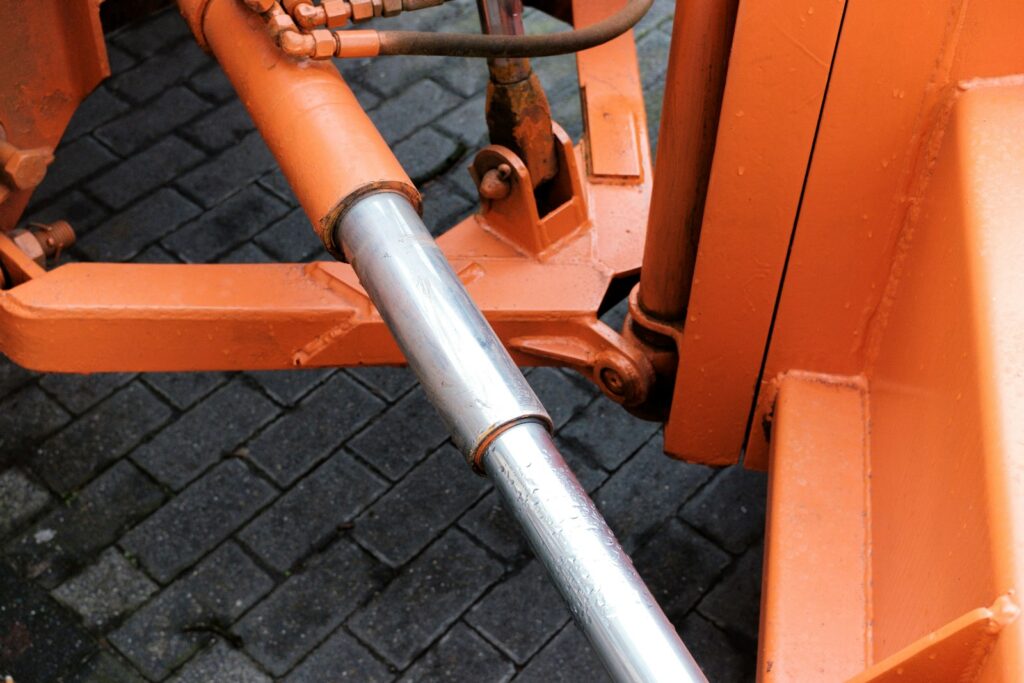
Hydraulic rods and cylinders are subjected to high forces, movement and in many cases exposure to the elements. One of the few surface treatments that can be used to extend the life of these components beyond that of bare steel is hard chrome plating.

Hardness That Resists Rod Scoring

Hard Chrome Plating typically produces a surface hardness of 850 HV to 1,000 HV. This is higher than most steels used for hydraulic rods and therefore the chrome plated rod will not suffer from scoring due to abrasive particles in the hydraulic fluid. Such scoring can very quickly cause leakage through the worn area around the seal contact line.

Low Friction Keeps Seals Intact

Due to Chrome’s naturally low coefficient of friction it is able to create a low friction interface with hydraulic seal materials, such as PTFE and Nitrile. The low friction interface will reduce the amount of Shear Stress placed on the seal, extending its life and reducing the frequency of replacement in service, thus saving money in downtime.

Corrosion Resistance in Wet Environments

In wet environments exposed to moisture, salt, and cleaning solutions, hydraulic rods are at risk of corrosion. The chrome layer acts as a dense passive layer that will slow down corrosion.

For Chrome Plating, visit poeton.co.uk/advanced-treatments/apticote-100-hard-chrome-plating/.

Thickness Tolerances on Precision Components

Thickness of a deposit of hard chrome can be controlled to a tolerance of ± 0.005 mm. It is a material that can be plated using a variety of techniques and it is easy to apply using selective masking to re-chroming worn components such as rod, which can then be ground back to exact size.

Re-chroming as an Alternative to Replacement

This surface wear can be reversed by re-chroming the rod. In this instance wear on the rod would have been in the order of 0.1 to 0.3 mm (0.004 to 0.012) and would have been removed by chrome plating followed by a surface finish to original dimensions. The cost of re-chroming a rod would be a fraction of the cost of new components.

With the right deposit specification and process discipline hard chrome plating can double or even treble the life of hydraulic rod components.

To help make your home renovation more cost effective and easier to manage, follow a structured approach to decide which rooms to start with first.

Fix Structural Problems First

Deal with structural problems in a room first. Problems such as damp, roof damage or subsidence need to be sorted before you start decorating the room as you’ll have to redo the work to sort the problem if you’ve decorated around it and it gets worse.

Sort the Rooms You Use Every Day

We would recommend completing the rooms you use the most first. This would mean completing the kitchen and bathrooms first as these are the rooms of the house that you use the most, and if you were to leave them until last then the time it would take to complete the rest of the house could mean months of builders materials arriving at your front door, with associated chaos and pressure on your budget.

Think About Resale Value

If you’re planning to sell your home within a few years then some rooms are going to return more than others when renovated. A new kitchen or an additional bathroom are two of the best rooms to renovate as they add far more value than a newly decorated spare room. Ensure that the sequencing of the rooms that you decide to renovate are made early on in the process so you’re not wasting money on rooms that aren’t going to increase the value of your home.

Plan the Order of Trades

The order of the trades is also important. Typically plumbing and electricians need to carry out their work before the walls can be plastered. Then the floors can be covered with new carpet or laminate before the final decorating.

A useful reference for Home Renovations Burford is https://precisionbuildersltd.co.uk/services/home-renovations/burford.

Know Your Rights Before You Start

Some work will require planning permission or be subject to Building Regulations. If you are unsure of your rights and considerations when improving your home, it is worth reading up before embarking on any work, especially any structural or load-bearing work.

So remember a good order to complete your renovation will save you a lot of money so invest some time in a good plan before spending money on any work.

The Joiner’s Marks Hidden in a Hundred-Year-Old Repair

Removing the staff bead from an old sash window will reveal a fascinating cross-section of life in the country at the time of repair.

It starts with the timber. There’s usually a clue within the original timber of the sash frame alone to date when it was last overhauled. Georgian and Victorian buildings were typically made from slow-grown softwoods such as Scots pine or imported from other parts of Europe like Baltic redwood, hard dense timber that would last for many years before beginning to decay. Subsequent repairs however are another story. A patch made in the 1940s may well have been made from home-grown softwood, a lighter coloured timber than the original with much wider, open, straighter growth rings, which would have been the only timber available at the time due to wartime restrictions having been imposed on imports.

Next the adhesive. As mentioned, joinery adhesives were, until the mid C20, made from animal hide, usually mixed with water and then boiled for extended periods to dissolve the bones and hides. These adhesives, known as hide glues, dry to a hard, yet brittle film which will, with the passing of time, crack and fail in a very specific manner. If the joint is held together with a flexible film that peels away as opposed to crumbling, then it is likely to have been held together with a synthetic resin adhesive, most commonly used from the late 1940s onwards.

Fasteners are also readable. Hand cut nails have tapered shanks and were cut by hand. Wire nails are round in cross section and were machine made. In Britain wire nails became common in the 1890s. A screw with a single slot and tapered tip is pre 1930s whilst a cross head screw is younger still. Historic England’s guide to historic timber repairs looks at the various materials used in joinery and their dates and how to recognise them when assessing historic joinery. The joiner’s marks left by earlier joiners are also important to recognise and Historic England also give advice on this in their guide to historic timber repairs. There is a useful background explanation of Historic England’s guidance on historic timber repairs.

The painted-over shim is perhaps the most telling thing of all. A thin piece of wood had been inserted between the frame and the sash box, to straighten a frame that had begun to rack. And once straight, it had been painted three times, and then left.

Good sash window repair today leaves its own layer in this record – the epoxy consolidants, the stainless fixings, the particular filler profiles that will puzzle someone in 2125. For Sash Window Repair contact www.sashwindowpreservation.co.uk/services/sash-window-repair/.

Each generation of joiners has left their mark on a building whether they meant to or not.